Tuesday 23 May 2017

Shortbread Meringue Slices


I decided today it was time to put me and my Kenwood Mixer* to the test!
So this recipe is the combination of making shortbread and meringue all in my kMix* and in 30 mins, and I am extremely happy with the very delicious results.


I thought this was all going to be a lot more complicated but it was all surprisingly easy, and made easier without all the elbow grease, letting my mixer do that for me!

Ingredients:

For the shortbread:

115g softened butter (I used a diary free alternative so my mum could share!)
55g caster sugar
175g plain flour

For the meringue:

2 large egg whites
115g caster sugar

4 tbsp strawberry jam

What to do:

Preheat your oven to 200°C (fan 180°C) and grease a 9" tin.

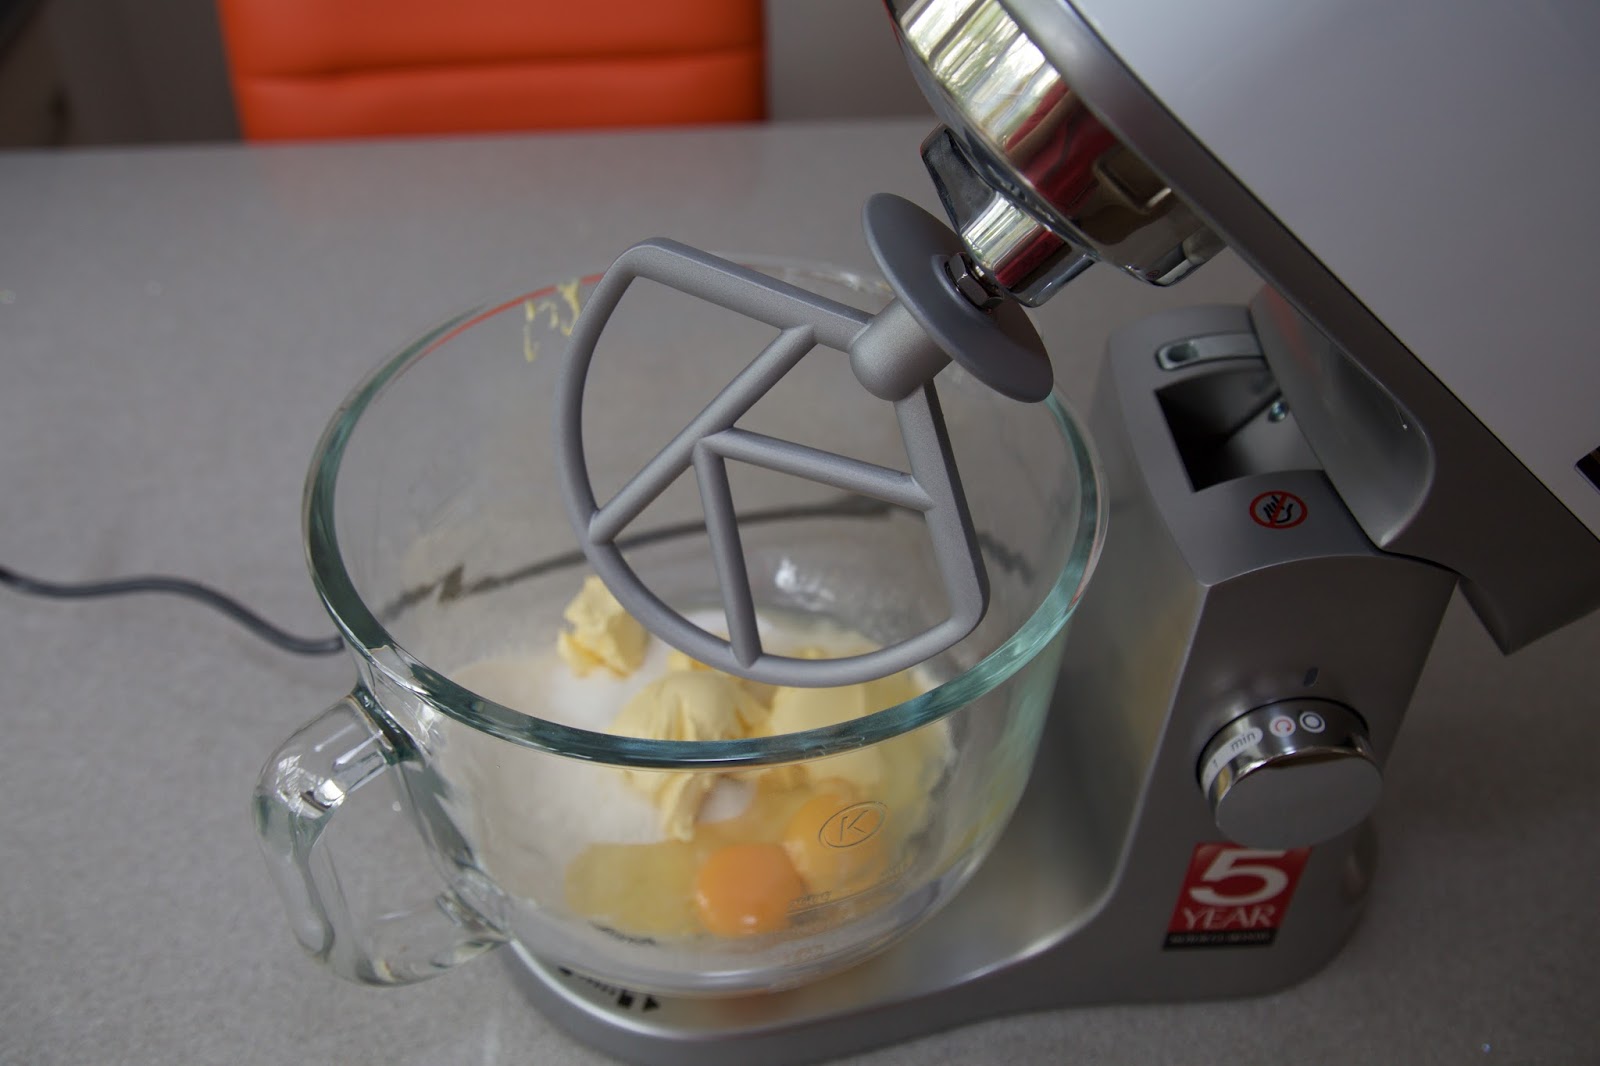
Use the dough hook attachment on your mixer and add all of the shortbread ingredients to your free-standing mixer, turn the speed up to 1 for about a minute and then whop it up to 3 for another minute or until the mixture begins to clump together. Tip this mixture into your tin and press into an even layer on the bottom. Bake this in the over for 17 minutes or until it looks pale golden.

Meanwhile, to make your meringue swap over your mixer attachment to the whisk and separate your eggs. Add your egg whites to your bowl, putting the speed on maximum. Once the mixture starts to look like stiff clouds, add the sugar a teaspoon at a time and continue mixing everything until it is stiff and glossy.

Remove your shortbread from the oven (once it looks pale gold) and spread your jam over the hot base. The spoon your meringue over the jam to cover everything completely. Then put the tin back in the oven for a further 5 mins or until the meringue is a pale gold (I baked mine for 6 and a half minutes in the end) and then enjoy the slices hot or cold!!


I think the recipe sounds a lot more complicated than it really is!
Let me know if you make these slice. 


Love El
xxx

*This post includes a product that was gifted to me. All opinions are my own and I would never recommend something that I do not truly love.
SHARE:

Tuesday 16 May 2017

Easy, Light Meringues

Meringues, to me, always remind me of my grandma, without fail she will always have some to serve alongside an array of other desserts after a delicious meal! She seems to get them spot on every time and they are just perfect for when you fancy something sweet!
I thought I would give them a go myself especially as my new, beautiful Kenwood* mixer, from the kMix range, has a whisk attachment.

Makes 8
Ingredients:

2 Egg Whites
125g Caster Sugar 
1.5 tsp Vanilla Extract

What To Do:

Preheat your oven to 110°and line two baking trays with baking parchment paper.

Separate your eggs and keep the egg whites for this recipe (there are many things you can do with the yolks so don't throw them away!)

Attach the whisk attachment to your free standing mixer and drop the egg whites into the bowl, my beautiful Kenwood* kMix free-standing mixer has a glass bowl which just happens to be perfect for making meringues. Once the egg whites are in the bowl turn the mixer speed up to maximum. As soon as the whites start to look like stiff clouds add in your sugar a teaspoon at a time, and then your vanilla extract.

Continue mixing on maximum until the mixture is stiff and glossy! When the mixture is looking like this turn off your mixer and start spooning or piping it onto your baking trays.

Bake the meringues in the oven for 1hour 20mins or until they sound hard when you tap them. Leave the trays to cool on a wire rack to cool, they will keep for up to 2 weeks in an airtight container and you can serve them in whichever way takes your fancy!!


Love El
xxx

*This post includes a product that was gifted to me. All opinions are my own and I would never recommend something that I do not truly love.
SHARE:

Thursday 11 May 2017

Favourite Spring Music...

When the warmer weather finally appears (not that it seems to be sticking around in the UK at the moment!) my music taste always seems to change, and favours more upbeat tunes. These are some of my current faves!

This is an older song as it was released in 2014 (still can't accept the fact that it was 3 years ago!), but that doesn't mean it isn't a brilliant song to belt out!

I have loved Pixie since her Mama Do days and therefore I knew I instantly would instantly adore this new song, and it definitely did not disappoint! This is the perfect song to sing out loud in your car and the acoustic version is equally as stunning.

Pretty sure this is one of most people's favourite song at the moment, and there's no denying that it is seriously catchy and therefore had to be mentioned in this post! Even the music video is fantastic!! (Also Anne-Marie's song Alarm is another fave.)

Another song that is for sure so many people's favourite and it's really no surprise that Ed has done it again!

Granted I may only be able to sing along to the chorus and occasional word in the verses but I am still loving this tune.

Because who doesn't want to be reminded that there are also other people with issues in the world, and it isn't just you!

Love El
xxx
SHARE:

Tuesday 9 May 2017

Focaccia Rustica With Red Onion And Pine Nuts

This week I wanted to share a recipe to a cupboard staple: bread!
I don't know anyone that doesn't love a delicious bit of bread and this is one of my favourites, the recipe shown was taught to me by my mum.

A lot of the time making bread can be annoyingly messy and a bit of a faff but I thought it would be a perfect opportunity to use my beautiful Kenwood mixer* with it's handy dough hook, and my gosh did it make everything amazingly easy!!
My mixer is from the stunning kMix range that you can check out HERE.

Ingredients:
500g bread flour
2 sachets of fast action dried yeast
1 tsp salt
350g water
red onion
pine nuts
1.5 tbsp oil

What To Do:

Preheat your oven to 180°C and grease your baking tray.

Add the bread flour, dried yeast and salt to your freestanding mixer and set the speed to just above minimum. While your dough hook is combining the dry ingredients gradually add in your water.

After you have added the rest of the water turn the speed on your mixer to 1 and leave to mix for no more than 5 mins. If your mixer seems to be struggling stop and let the mixture fall off the hook and into the bowl and then continue! After those 5 minutes you dough should be very well combined and elastic.

You then want to leave the dough to proof in the bowl covered with a tea towel for 20 mins.

Once the dough has risen (it is fascinating to see how it increases in size!) you will spread your dough out onto the baking tray using your hands or a floured rolling pin, continue to spread out until it is about 1.5 cm's thick. Then cover with your tea towel again for another 20 mins.

When your final 20 minutes of proofing the bread is over you need to poke some dents into the dough using the end of a wooden spoon and then add some toppings! I have personally gone for red onion and pine nuts, cut your red onion into rings and then half those rings and add on a sprinkle of pine nuts. The final ingredient is to add 1.5 tablespoons of olive oil all the way across the bread.

Place your bread into your oven for 30 minutes or until it is golden and cooked through!

I think this will now be the only way I make bread as the mixer and dough hook made it so easy!!


Love El
xxx

*This post includes a product that was gifted to me. All opinions are my own and I would never recommend something that I do not truly love.
SHARE:

Monday 8 May 2017

My Skincare Saviours

Whether your skin is having a down day or just needs a bit of pick me up, we all have our skincare essentials for those times!
Sometimes your skin just needs a complete detox and you need a product that feels like it is taking out every impurity and bringing you back to those baby skin days, well that product for me is the L'Oreal Pure Clay Detox Mask! I slather this all over my face, it claims to last for 10 applications but I have used it at least 15 times and have just under half the tub left, and let it get to work. Afterwards I can see how much clearer and rejuvenated my skin looks, it is totally worth the small price of £7.99, I definitely want to try out the other two masks from the range.

I have occasionally suffered with eczema and products causing serve dryness, I have tried all sorts of products that claim to help out in those situations but only one product has saved the day and that is Nivea's Rich Moisturising Day Cream. I personally wouldn't use this product for the day time as it is super thick, but it has been an absolute saviour for when I have dry skin and I don't think I could live without it.

My perfect duo for morning skincare has to be Neal's Yard's Rose Facial Wash and the Neal's Yard's Rehydrating Rose Daily Moisturiser. I love knowing that when I apply these products in the morning they are completely natural and my skin just laps it up! Again these are fantastic for skin that can tend to get a bit dry and after use my skin unbelievably soft and is left with a beautiful, natural glow.

Finally, a seriously raved about and loved product to get rid of those pesky spots, yep, it's Sudocrem of course! I have tried TCP, Tea Tree everything, even Mario Badescu Drying Lotion but NOTHING works on my spots quite like Sudocrem does. I can feel it tingling away as soon as I apply and by morning the spot is at least half the size, I swear by this stuff and at only £5.99 for this ridiculously large tub (definitely don't need the 400g size!) you can't go wrong!

I personally know that my bad skin generally steams from eating badly, but sometimes you've just got to treat yourself and slap on some Sudocrem and skincare essentials when those spots decide to arise!

And of course, the final key to healthy skin, water!
Drinking it, washing your face with it, it really is a skincare saviour, and to be perfectly honest occasionally in the morning I won't even use a cleanser and will only use water but my skin seems to appreciate that more than some products!!

Love El
xxx
SHARE:

Tuesday 2 May 2017

Simple Chocolate Chip Cupcakes

Sometimes when it comes to baking you've just got to go back to basics and bake something that reminds you of your childhood, something that can totally hit that sweet craving AND something that is super easy to make!
Baring all of that in mind and the fact I was very, very kindly gifted this beautiful Kenwood kMix Mixer (isn't it pretty!!) I thought I would share a very simple chocolate chip cupcake recipe.
Having always been a fan of Kenwood I thought this would be a nice, easy recipe to get to know my new mixer. I am so, so happy with how lovely the mixer is to use and can't wait to share more recipes soon, because I will now officially be using it all the time (it has made me fall in love with baking even more!)

Ingredients: 

100g self-raising flour
100g butter, softened
100g caster sugar
2 eggs
100g plain chocolate chips
Milk Chocolate (Optional)

What To Do:

Preheat your oven to 190°and line a 12-hole cupcake or muffin tin with cupcake cases.

Sift the flour into your free-standing mixer, then add the butter, caster sugar and eggs; beat until smooth. Fold in your chocolate chips; on my Kenwood there is a fantastic feature (red arrow on the dial) which will do said folding for you. 

Spoon your mixture into the cupcake cases and bake for 20 minutes, until golden and a skewer comes out clean. Lift the cupcakes out of cake tin and place on cooling rack to cool.


Meanwhile, if you want to add chocolate to the top of your cupcakes, melt some chocolate over some boiling water on the stove. Once your cupcakes have cooled drizzle the chocolate using a spoon.


Let me know if you try out this recipe and what you think!


Love El

xxx

*This post includes a product that was gifted to me. All opinions are my own and I would never recommend something that I do not truly love.*
SHARE:

Monday 1 May 2017

Designer Dupes

(Patrick Morgan)

There are so many gorgeous designer pieces out at the moment that I am a little obsessed with, but if I actually bought them the total value wouldn't even be worth considering!
Sometimes it's an absolute must, or just a really nice feeling, to treat yourself to that item you've been lusting over, but other times it feels even better if you can find an amazing dupe. Therefore, I have found some fantastic dupes that won't make your bank account cry.


Chloe Faye Bag
Chloe Small Faye Shoulder Bag - £1,020                     Mango - £35.99


Gucci Dionysus Bag
 Gucci Dionysus Bag - £1,610                                      Zara - £49.99


YSL Amber Ankle Strap 105 Sandal
 YSL - £425                                                Asos - £25


YSL Babies 70 Ankle Strap
 YSL - £535                                                    New Look - £29.99


YSL "Love" Embroidery Jean Jacket
 YSL - £2,565                                            New Look - £54.99


Self-Portrait 3D Floral Midi Dress
 Self-Portrait - £400                                           New Look - £44.99


Gucci Ace Embroidered Low-Top Sneakers
Gucci - £485                                   Ego - £25       


   Designer Total:                Dupe Total:         
  £7,040                            £265.95     

There are some seriously amazing dupes out there, you've got to look and know where to start looking!

Love El

xxx
SHARE:
Blogger Template Created by pipdig