Thursday, 10 September 2015

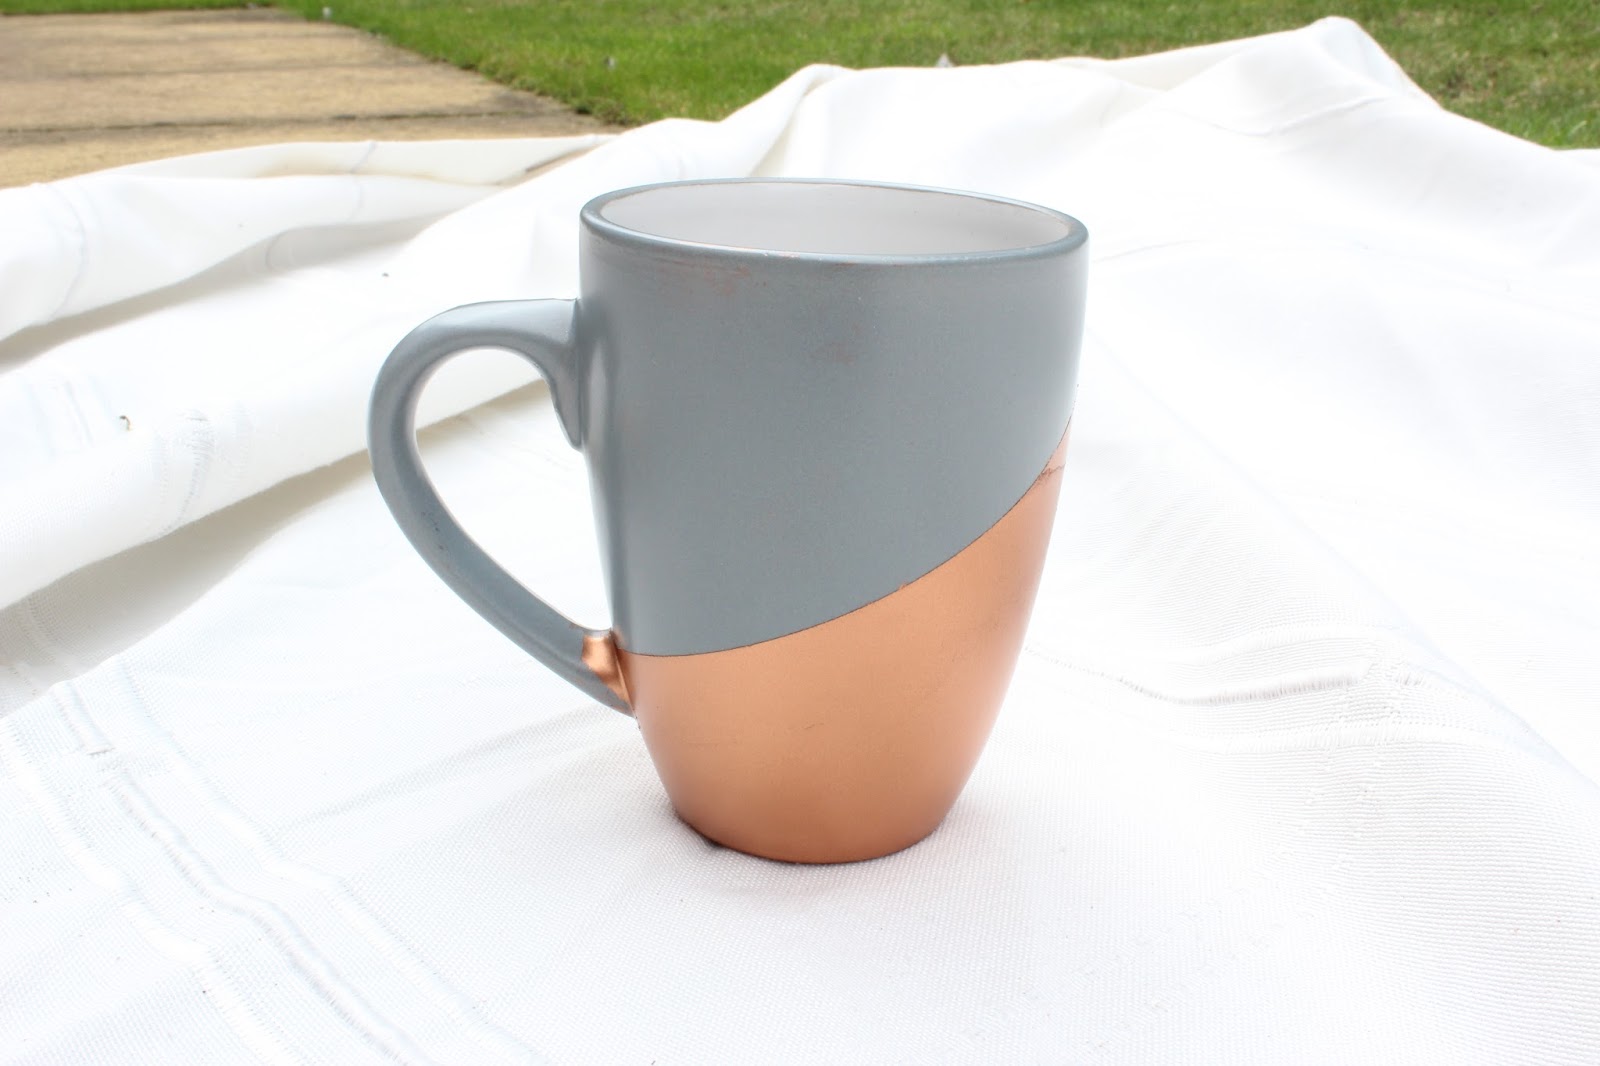
DIY - Sprucing Up An Old Mug

I saw this DIY on Pinterest and instantly thought "I need to do that, it's gorgeous."

Now I will admit I am a mug hoarder, there I said it I have a problem....BUT at least it can result in this post.

For this DIY you only need 3 items, and it only requires 3 steps, so lets get stuck in:

First the products you'll need are:

  • An old Mug
  • Spray Paint - I went for Copper from Hobby Craft
  • Some Masking Tape
The Steps:

First:

You want to think up the pattern you want, I just copied the one from Pinterest. You then want to cover the are that won't be sprayed in masking tape.

Second:

Go to town on spraying that paint!
I definitely recommend the one I used, it dried so quickly and I am extremely happy with the final product.

Third:

In order to lock in the paint, I baked my mug at the lowest temperature on my oven (40°) for 20 minutes. Be very sure not to bake it too high as the spray does say extremely flammable but can go to temperatures of 120° but I definitely would NOT suggest that!!!

And you're done! You have your beautiful new - old mug!


Hope you enjoyed this DIY!

Love El
xxx
SHARE:

Monday, 8 December 2014

DIY Christmas Snow Globe

A bit of a different blog post from me today, it is Christmas themed but here we have a DIY! (I mean you probably guessed that by the title.)

I saw this project on a YouTube video and instantly thought I had to do it because my mum has always loved snow globes. The figurine inside the snow globe is actually a cake topper, of The Snowman, I went on a search to find this small figure because again my mum has always loved The Snowman and this was being made specifically for her!

What you'll need:

  • A jar, (possibly a jam one or one from around your house!)
  • Superglue (waterproof of course)
  • Water
  • Glycerin. I got mine from Boots - HERE
  • Glitter flakes. I got mine from eBay - HERE
  • A figurine, one that won't dissolve in water of course! I got mine from Amazon - HERE
The Steps:

First:

You need to superglue your chosen figurine to the lid or bottom of your jar. After gluing leave for a day and a night to fully set.

Second:

Add in cold water to your jar, not to the top just yet, and add in a dash of glycerin, I would say pouring for 1-2 seconds. Adding in this glycerin will make the snow in your globe fall slower. By this point, or before adding in your glycerin it may be a good idea to swirl, tip or generally move your snow globe around just to ensure your figurine is completely stuck to your jar.

Third:

Add in your glitter flakes/snow flakes. Add in the glitter so there is a layer on top of your water mixture. You can add more at the end if there isn't enough anyway.

Fourth:

Stir the mixture. And add anymore water, glitter flakes and glycerin to fill your jar, however do keep in mind that even the tiny figurines can displace water so do be careful of that!

Fifth:

Enjoy the festive decoration that is your new, homemade snow globe!


I hope you enjoyed this festive DIY and give it a go yourself!

Love El
xxx
SHARE:
Blogger Template Created by pipdig