Monday, 2 November 2015

Chocolate Chip Cookies Recipe

I really have really had the urge to bake something recently and wanted to bake some sort of treat as we haven't got many in house. As I was googling some recipes I came across BBC Good Food's Millie's Cookies recipe and had to try it!

I have never had a Millie's Cookie but have always wanted one so I was intrigued by this recipe.

For the ingredients you will need:
  • 125g softened butter (I used a margarine-already soft)
  • 100g light brown soft sugar
  • 125g caster sugar
  • 1 lightly beaten egg
  • 1 teaspoon vanilla extract
  • 225g self-raising flour
  • half a teaspoon salt
  • 200g chocolate chips


Now I didn't actually have an chocolate chips so used milkybar buttons and Tesco value plain chocolate cut into pieces.

First:

Preheat the oven to 180ÂșC. Line (I used 2) baking trays with greaseproof baking paper.

Second:

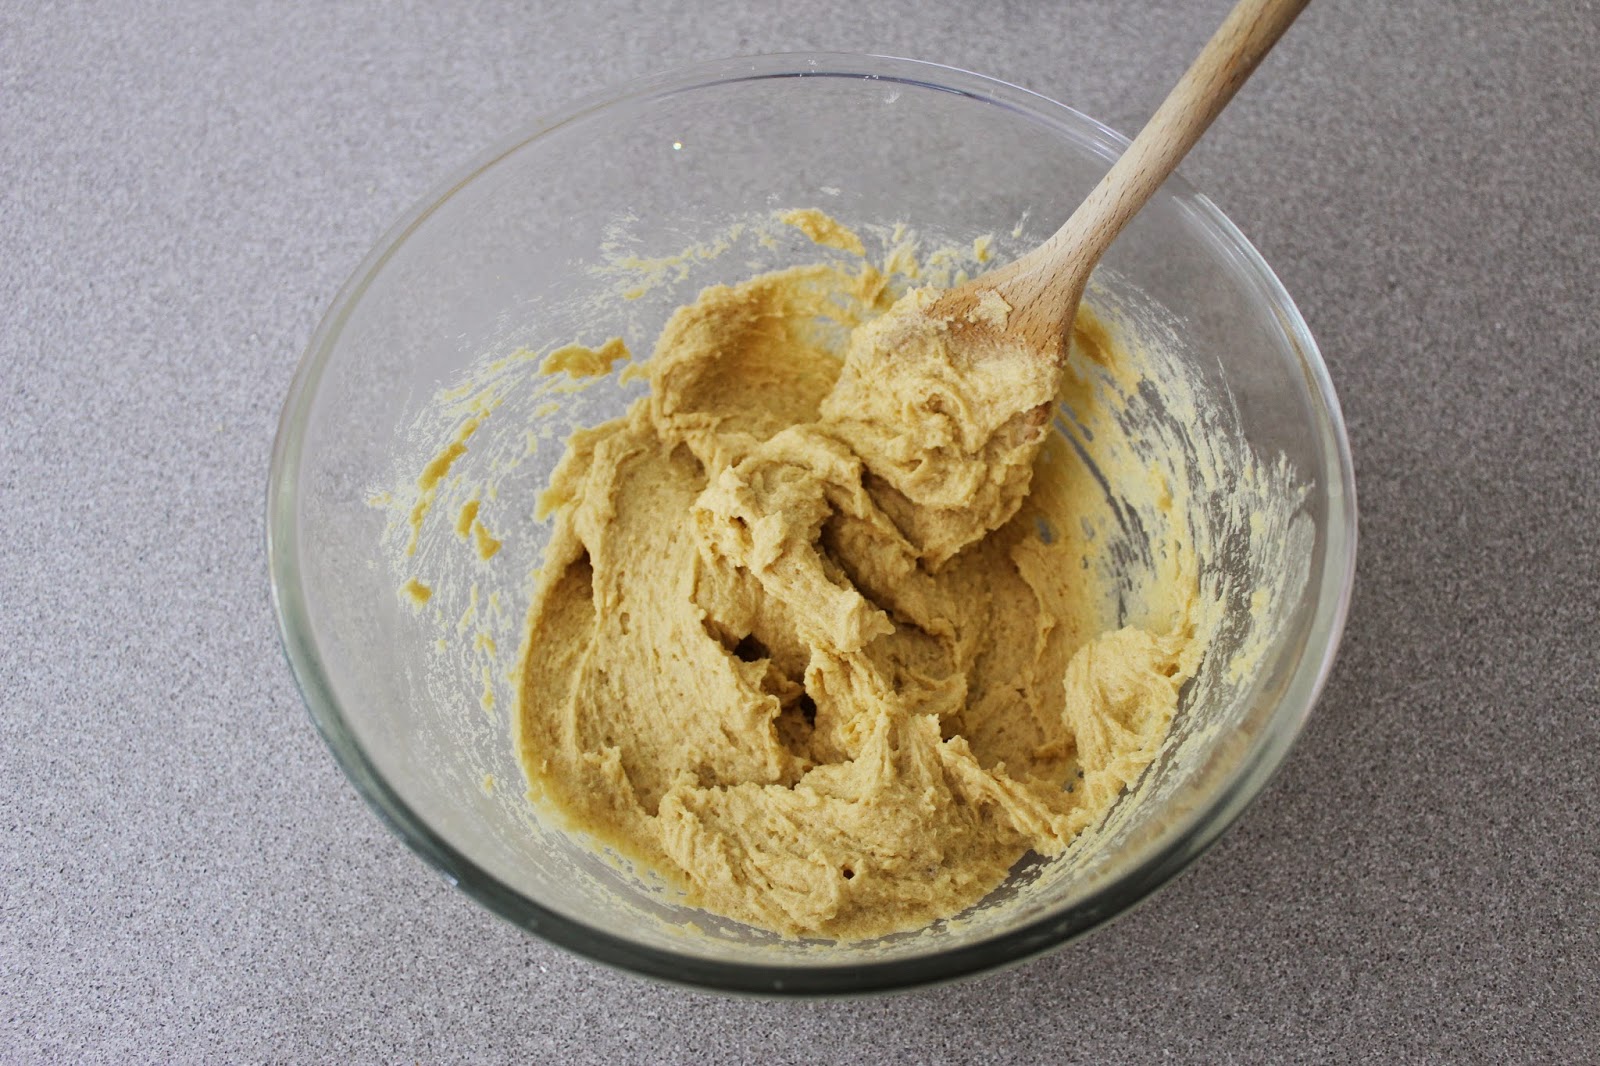
Add the butter/margarine and both type of sugar to a bowl and cream together. Once done add your lightly beaten egg and vanilla extract and stir. (I beat the egg in a separate bowl with a beautiful coloured whisk from M&S or you could use a fork).

Third:

Sift in the flour and salt, stir together. Then add the chocolate chips and stir one final time.

Four:

Grab walnut size balls of the cookie mixture and put onto your baking trays. Put into your oven. 


I personally put the cookies in the oven for 14 minutes and swapped the trays round on the oven selves half way through this time. 

This recipe made 12 large cookies.

For a more "Millie's Cookie" effect heat the cookies in the oven for a shorter amount of time. BBC Good Food recommend 7 minutes, but it's up to you! Just keep an eye on them and take them out of the when you feel they look to your taste and preference.

After they have been cooked take them out of the oven to cool, whilst leaving them on the baking trays.

As I made my cookies I took pictures of each stage so you could see how they should look through out the making and baking! 


Hope you try out these cookies, it is a great recipe, they were so easy to make and taste so so good!

Love El 
xxx
SHARE:

Thursday, 29 October 2015

Breathtaking Places

Now I can't be the only one who sometimes just goes onto Pinterest or Google Images to look at incredible places around the world, right?!

There are so many incredible destinations around the world and some right on our doorsteps that are just waiting to be discovered, and I think it's time I made some places to go and see them for myself.
These places are just absolutely breathtaking and really whats stopping me from going and exploring...but for now I'll just have to enjoy them through my computer screen!

1. Fairy Pool, The Isle of Skye, Scotland.

2. Hidden Beach, Puerto Vallarta, Mexico.

3. Le Mont Saint-Michel, France. (I was lucky enough to visit this amazing place on a school trip!)

4. The AlcĂĄzar of Segovia, Segovia, Spain. (Apparently one of Walt Disney's inspirations for Cinderella's Castle!)

5. Burano, Italy.

Would any of these incredible destinations make it onto you list of places to see?

Love El
xxx
SHARE:

Monday, 26 October 2015

Pinterest Eye Shadow Tutorial


Welcome to a new makeup tutorial!
After seeing this look on Pinterest I just kind of fell in love with it and decided to try to re-create it.

I left out the eyelashes because you could either use a bit of your favourite mascara or your most natural false eyelashes.


First off I primed my lids with the perfect pink shade, Maybelline's Color Tattoo in Pink Gold!


Then using the closest pink I had I applied this all over where we primed. I used L'Oreal's Blue Intensifier eyeshadow in 222.


I then applied a little of Urban Decay's eyeshadow in Nooner through my crease.


Then grabbing MAC's eyeshadow in Cranberry I intensified the crease to make it more similar to the picture, and it was a pretty perfect match! With this shade you want to try and wing it out a bit more as is done in the image.


Finally taking this pearly white shade from MUA, the picture does ask for a pearl white, I took this under my eyebrow and a tiny amount in the inner corner. The shadow I used was MUA's eyeshadow in Pearl - shade 2.

Just apply your favourite mascara or your favourite falsies and you're ready to go!

Love El
xxx
SHARE:

Thursday, 22 October 2015

Autumn 2015

There's just something about this time of year, the thoughts of chilly weather approaching, the warm clothes and hot drinks that fills me full of happiness. A lot of people have told me I'm "weird" for liking this time of year but I think there's nothing wrong with liking the warm tones in the leaves, there's nothing weird with the love of layering up your clothes until you can't really move but at least you can feel your toes, and there's nothing strange about seasons making you feel excited about life.

My birthday is actually tomorrow and I turn 20, yes I'm leaving the teenage years behind, and I'm pretty terrified if the truth be told. So please leave your kind words below to tell me it's not different and I won't suddenly turn into this adult person with more adult responsibilities, and send me a virtual hug. And after my birthday, and before to be honest, I get an overwhelming excitement for Christmas, specifically the run up. As in a joke I once said to my best friend Jess, "the only running I do is the run up to Christmas" ba dum tss, okay, yes that was bad, I know...

So with all this incredible excitement I have for the end half of each year I thought it was only fair to share a mood board of Autumn images that make me feel warm and fuzzy inside.....


P.s. I'm sure a Winter mood board won't be too fair behind...

Love El
xxx
SHARE:

Monday, 19 October 2015

New Favourite Songs...


Sometimes it's just essential to sit back and listen to your favourite music...In fact it is essential all the time.

So I thought I would share some of my favourites of the time, and as well as the ones on this list you may as well add all Christmas music because YES I am already enjoying Christmas music, occasionally...


This song is brilliant, and I absolutely LOVE the tune in the chorus. Ever since watching Alex Centomo's OOTW: Peru I'm hooked, and no doubt you will be soon too!


Honestly I usually become obsessed with anything Ellie Goulding so this song has been no exception. 
She is incredible!


I initially heard this on my cousin's friend's Zoe Portia's videos (which you definitely have to check out HERE) and just had to continue googling and searching until I found the exact song. Let me tell you I was extremely happy when I finally found it!!

If you haven't listened to any of these songs you must!!
What are your favourite songs at the moment?

Love El
xxx

P.s. Another new discovered favourite song is now Jack Garratt - Breath Life
Found this little gem after writing the rest of the blog post!
SHARE:

Thursday, 15 October 2015

Halloween Lips - Graveyard Scene


Hi guys and welcome to another Halloween themed makeup blog post!
On Monday I posted THIS blog tutorial about how to create special effect bruises and bullet wounds.

Today I decided to create a Halloween scene on my lips, therefore came up with this graveyard look. It is super easy to re-create and I'll tell you how! 
If you re-create this look please tag me in the image on Instagram, I'd love to see your looks!

Starting off this look I just covered my lips with a pale concealer - the same shade as my skin colour and completely blocked my lips out. Then to set this concealer I used an almost metallic green eyeshadow, the specific one I used was Grimas's eyeshadow in Shade 740.
I then took a liquid eyeliner, I found one with a brush that has a little movement is the easiest to use! I lined my bottom lip with the eyeliner and this will act as the ground.
I first started off with the biggest grave, this is just half a circle connecting to the bottom lip, filled in with some grey eyeshadow then a cross on the top. I then made a smaller one next to it but filled this in with the black eyeliner, this grave therefore looks like its in the distance.

In order to make our crosses, I would suggest doing your vertical line first and doing it in one quick movement and this is the simplest and most effective way. Then for the horizontal line, do one side and then the other i.e. do one half and connect it to the vertical line and then do the other side and also connect this.

For the birds on my top lip these are just how I used to draw birds at school, but I would just say it is like doing the top of an "m" without elongating the downward lines. (If that makes sense?!)

Finally for the tree start off with 2 vertical lines going from the bottom of your bottom lip (the ground) to the centre of your lips. Then fill in the gap with some brown eyeshadow or pencil eyeliner. In order to create the branches just take your liquid liner and make some wiggly lines coming off the trunk and off other branches (it's probably easier to look at the picture than me explaining! I'm SO bad at explaining things!!) I then added a dot in the centre of the trunk just because sometimes this is where you will see an owl sitting.

And that is all you have to do for this look, it is super simple but so effective!


I hope you enjoyed this look, it is super simple but just takes a little patience!

Love El
xxx
SHARE:
Blogger Template Created by pipdig